How to add photos and videos to your blog posts
- Staff
- March 13, 2013
- Guides, Real Estate Marketing
- Hosted Websites
- 0 Comments
In order to make your blog posts more appealing, you’ll want to add some relevant photos and/or videos.
Adding these will draw people’s attention to your content and will give them a more visually appealing experience while reading your blog posts.
If you haven’t already, click here to learn how to create a blog post before continuing on with this article.
To add photos and videos to your blog posts:
1) Either create a new blog post, or navigate to your “Posts” page and find a blog post you would like to edit.
2) Within the content of your blog post, click where you want the image/video to go.
3) Then, click the “Upload/Insert” button above the text formatting toolbar (pictured below).

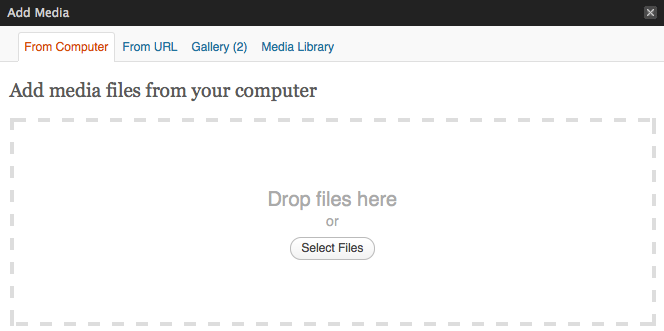
4) A pop-up window will appear (pictured below). In order to upload an image/video, make sure you have previously saved it somewhere on your computer, and click the “Select Files” button in the pop-up window and select the file on your computer. Alternatively, you can simply drag and drop the file from your computer onto the pop-up screen. The file will then be uploaded into the pop-up window.
5) Once the file has uploaded, it will be displayed within the pop-up window and you will see a variety of options for that image/video. The main ones you should look at are:
- Title – Give it a relevant title. This will not be visible to your website visitors.
- ALT Text – A short description. This will not be visible to your visitors.
- Caption – This WILL be visible to your visitors as a caption beneath the image/video.
- Alignment – Determine how you want the image/video to be aligned with the text in your blog post.
- Size – Choose how big you would like it to show up.
Once all settings are to your liking, simply click on the “Insert Into Post” button at the bottom of the pop-up window.
Remember to preview your blog post before saving (publishing) so you can make sure your image or video is displaying the way you want.