How to create a blog post
- Staff
- March 13, 2013
- Guides
- Hosted Websites
- 0 Comments
Creating a blog post using the WordPress tool is very easy to do!
First, you’ll need to log in to your admin dashboard.
There are 2 ways to log in:
- Click on the “Blog Admin” link at the bottom right of your website.
- Type your website URL into your Internet browser, followed by “/wp-admin” (without the quotation marks). It will look like this – http://www.yoursitename.com/wp-admin
Once you have logged in, you’ll arrive on your admin dashboard page.
To add a new blog post: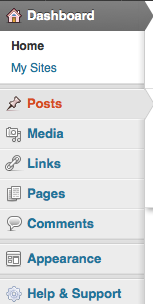
1) Click on “Posts” in the main navigation menu on the left side of the page (pictured at right).
2) This will take you to the “Posts” page, where you’ll see a summary of all posts you have either published, or saved as a draft. If this is your first post this page will be blank.
3) At the top left hand side of this screen, click on the “Add New” button (pictured below).
![]()
4) You should now see the Add New Post page (pictured below).
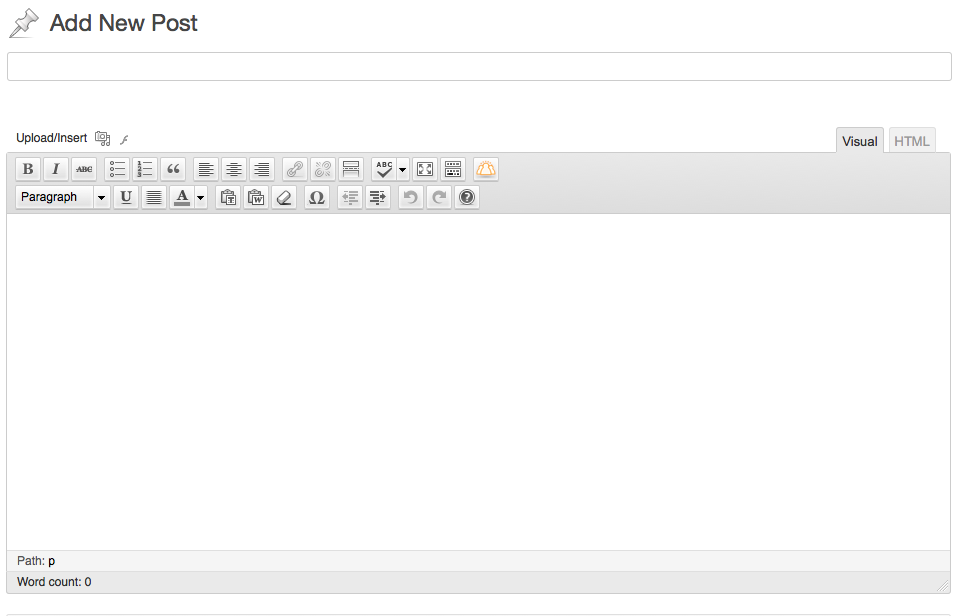
5) Add the title of your blog post in the first field at the top. Try to keep it brief, yet interesting enough that will make people want to read your blog post.
6) Then simply add the main content of your blog post in the large content box. Above the main content box, you’ll see the formatting toolbar (pictured below), which provides you will a variety of formatting options. Hover your cursor above each box to see an explanation of what it does.

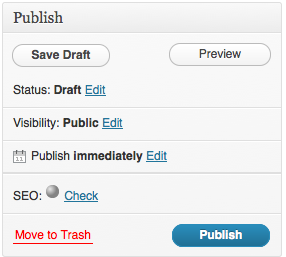
7) Once you are finished writing your blog post content and formatting it the way you like it, you can save it as a draft, preview what it will look like, or publish it. Do do these, locate the “Publish” box on the right side of the screen (pictured below).
That’s all there is to it! Continue reading the other articles in this category to learn about some of the more advanced things you can do with your blog posts.